
I thought these were cute and easy way to keep guests cool while providing them with the details of the ceremony. This is how I did it.

So for my upcoming wedding in July I have been planning, planning, planning. And in the middle of planning I am Pinteresting ideas about things I should plan or do or make.
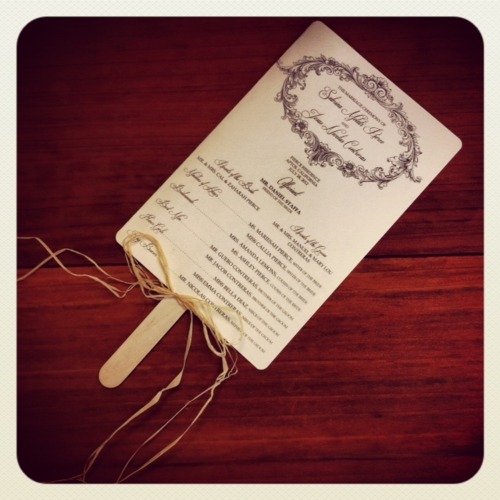
Since our ceremony starts at 4:30pm I know that my guests will be in the sun. So I decided that program fans are the way to go. After they read all the information they can cool themselves off (rather than holding a piece of paper while it melts in their hand).
Here’s what you need:
1) 8 ½ x 11 card stock paper in the color of your choice- I purchased a pack from Staples for about $9.00 for 250 sheets.
2) Craft sticks- AKA Popsicle sticks. I purchased mine from Target for $1.99 for a packet of 60.
3) Double sided tape
4) Corner rounding punch- I purchased this from Stapes for about $5. It is found in the scissor aisle.
5) Embellishments- I used raffia that I purchased at my local craft store. This is a great way to tie in your theme/color of your wedding… so bows, flowers, jewels are all great ideas!
6) Microsoft word
7) Printer
This is what I did:
1) In Microsoft word- Open a new document
- Click the “mailings tab”
- Click on “labels”
- Click on “options”
- Under Label Vendersclick on “AveryUS Letter”
- Set the Product number to “3297 Half Fold Greeting Cards”
- Click on “okay”
- Click “new document:
Now a new document will be created with a line down the middle. This creates the front and back of your ceremony fan.
2) Design- This is where you get to tie in your wedding theme by creating a wedding program that fits you and your hubby to be. Some of the essential things to add:
- Date and location of wedding
- People involved (bridesmaids, parents, musicians, offiants)
- Order of the ceremony
3) Print- print the document on your cardstock and fold each on in half
4) Stick-Open the program back up and add double sided tape to one half of the inside (the blank side) of the sheet.
5) Sick on the craft stick
6) Fold back together
7) Add embellishments

